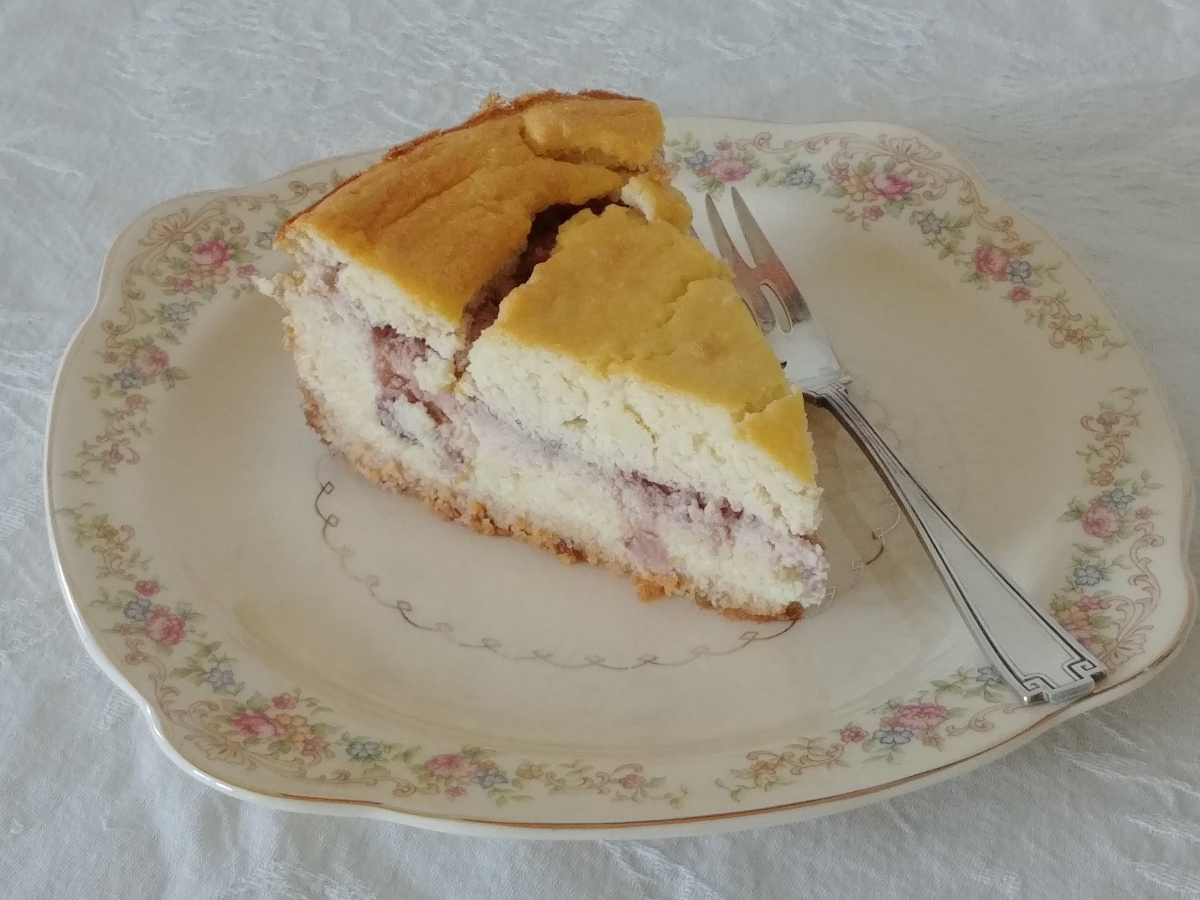
Strawberry Lemon Ricotta Cheesecake adds surprise layers of fresh strawberries and lemon curd to light and airy ricotta cheesecake. The strawberries and lemon just shout “Summer!” Making Strawberry Lemon Ricotta Cheesecake with stevia instead of sugar will greatly reduce the carbohydrates count without impacting the flavor or texture; use our Keto Lemon Curd when making a keto version of this recipe as we did.
While many recipes call for using a bain marie or water bath when baking a cheesecake, it can be cumbersome. For most home bakers, it is difficult to execute properly and if you get a leak between the springform pan and the bain marie, you have a soggy disaster on your hands. While the water bath method is supposed to result in less cracking of the top crust, that has not been our experience. That said, we actually like some light cracking in the cheesecake’s top crust; it adds character. Strawberry Lemon Ricotta Cheesecake is delicious! Serve it is or perhaps with a dollop of whipped cream. If you want, you can prepare a sauce made with fresh strawberries and some lemon juice and serve it on the side on the plate or allow guests to add their own or not.
For the crust: Prep Time: 15 minutes Total Time: 35 to 45 minutes.
For the strawberry filling: Prep Time: 5 minutes, Total Time: 10 minutes.
For the cheesecake: Prep Time: 1 hour plus time to drain the whey from the ricotta, Total Time: 3 hours, 20 minutes.
Yields One 9 or 10-inch Strawberry Lemon Ricotta Cheesecake.
Ingredients:
For the crust:
- 1 ½ cup Almond Flour
- ¼ cup Coconut Flour
- ½ tsp. Baking Powder
- ¼ tsp. fine Sea Salt
- 4 tbs. melted Unsalted Butter
- 1 large Egg, beaten
For the cheesecake:
- 1 ½ cups fresh Strawberries
- 1 ½ pounds Whole-Milk Ricotta cheese
- 8 oz Sour Cream
- ¾ cup granulated Sugar or Stevia
- 6 large Eggs, separated
- 2 Tbs Cornstarch
- ¼ tsp fine Sea Salt
- Finely grated zest of 1 Lemon
- 2 Tbs Vanilla extract
- ½ cup Lemon Curd or Keto Lemon Curd
Preparation:
Making the crust (recommend doing this a day ahead of making the cheesecake):
- Preheat oven to 350° F. In a large bowl, mix together the almond flour, coconut flour, baking powder, and sea salt.
- Add melted butter, mix with the dry ingredients lightly, then add the beaten egg and mix together to form the crust dough.
- Using your hands, press the dough evenly into the bottom of a 9 or 10-inch springform pan, taking care to avoid thicker crust at the bend of the pan from the bottom to the sides; prick the dough with a fork to make holes into the crust.
- Bake the crust to a light golden-brown, approximately 20 to 30 minutes depending upon the calibration of your oven; remove the crust from the oven place on a rack and allow to cool completely. Do not remove the crust from the springform pan.
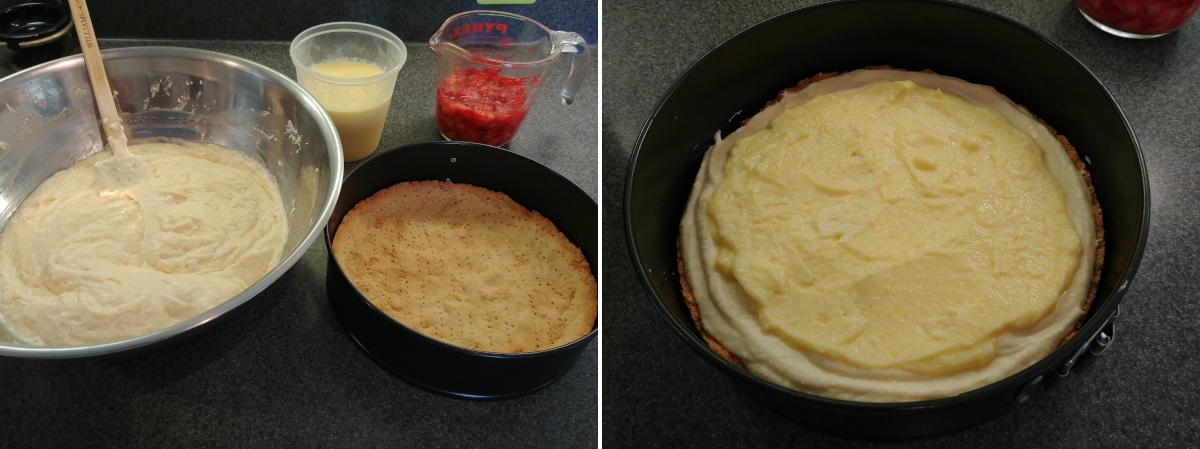
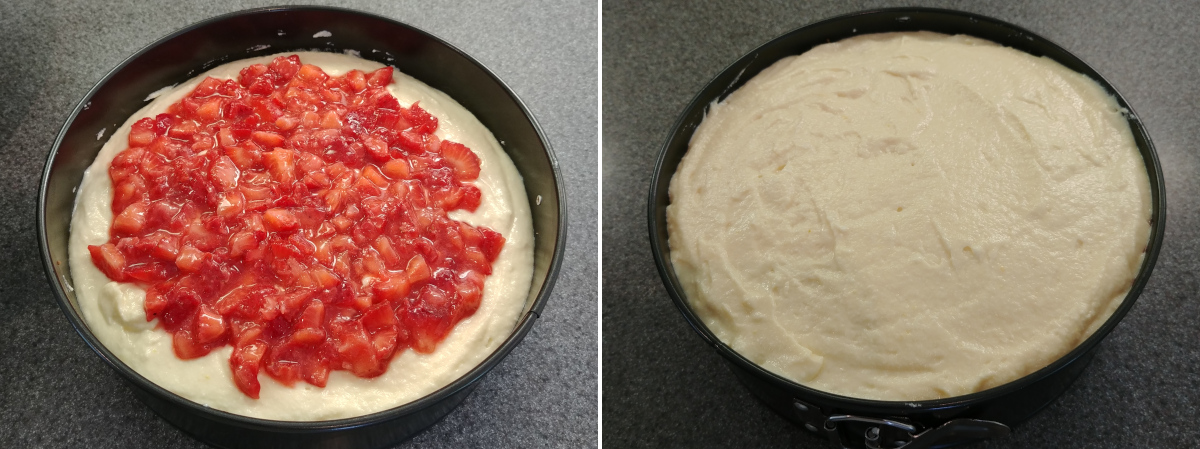
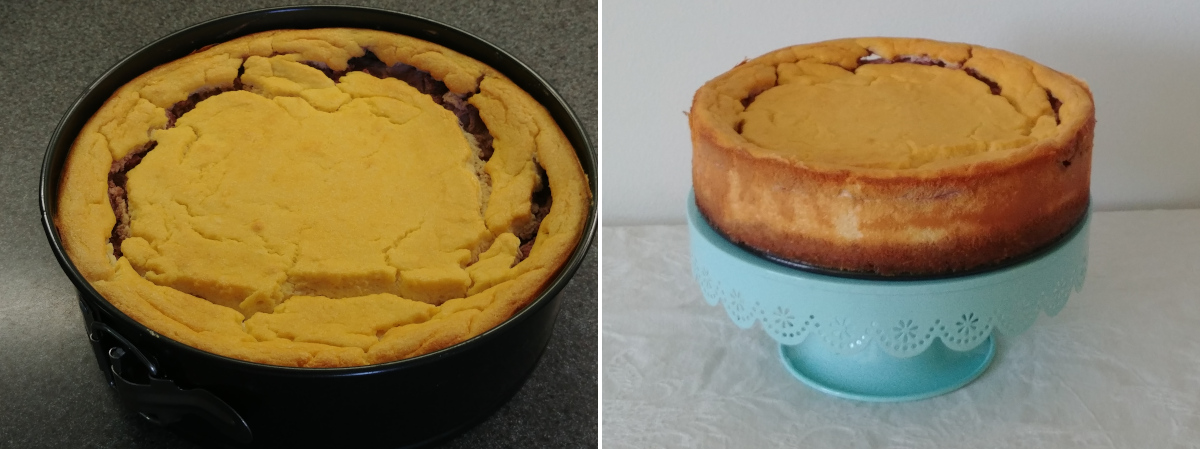
For the cheesecake:
- Spoon the ricotta into a fine mesh sieve placed over a bowl and allow it to drain and release the whey for a few hours or overnight in the refrigerator.
- Hull and rinse the strawberries, then roughly chop them into small pieces. Mash the strawberry pieces down to reduce the volume to 1 cup and set aside; we used a cocktail muddler to accomplish this.
- Combine the drained ricotta, sour cream, sugar or stevia, egg yolks, cornstarch, sea salt, lemon zest, and vanilla extract in a large bowl.
- Using an electric hand mixer with the two mixing attachments, mix these ingredients together until mostly smooth; some small ricotta curds may remain which is fine as it will add to the cheesecake’s texture.
- Preheat the oven to 325 degrees F.
- Add the egg whites to a separate bowl, preferably a copper one-ring bowl designed for beating egg whites. Beat egg whites, using an electric hand-mixer with the whisk attachment, until stiff peaks form.
- Use a rubber spatula to gently fold half the whipped egg whites into the ricotta batter until lightly combined, then fold the remaining whipped egg whites into the batter taking care not to overly mix the batter.
- Pour the 1/3 of the batter into the springform pan slowly and give the pan a gentle shake to evenly settle batter in the pan.
- Spread a thin, ¼-inch thick layer of lemon curd on top of the layer of batter, taking care not to mix the layers.
- Pour another 1/3 of the batter into the springform pan slowly and give the pan a gentle shake to evenly settle batter in the pan.
- Gently spread the mashed strawberries on top of the second layer of batter, taking care not to mix the strawberries into the batter.
- Pour the final 1/3 of the batter into the springform pan slowly and give the pan a gentle shake to evenly settle batter in the pan. The pan will be very full, likely to the rim, but this is okay.
- Place the pan on a baking sheet and bake on a centered rack in the oven for 1 hour and 20 minutes at which time the cake’s center will appear firm and the top a deep golden-brown color.
- This step is mission critical! Turn off the oven, pop the oven door open a few inches, most ovens have a catch in the door mechanism to permit this, and let the cheesecake cool in-place for a minimum of 1 hour to 1 ½ hours. Do not remove the cheesecake from the oven. There will be some settling as the cheesecake cools which is normal.
- Remove the cheesecake in the springform pan and baking sheet from the oven and set the baking sheet aside. Place the springform pan on the counter and allow it to continue to cool to the touch.
- Once the cheesecake has cooled completely, run a blunt-tipped knife around edge of the cheesecake to release it from the pan
- Using the lever, release sides of the springform pan and use the blunt-tipped knife once again to release any spots of the cheesecake’s sides which may still be stuck to the pan. Remove the springform pan’s sides and bottom and carefully transfer the cheesecake on a large plate or cake stand.
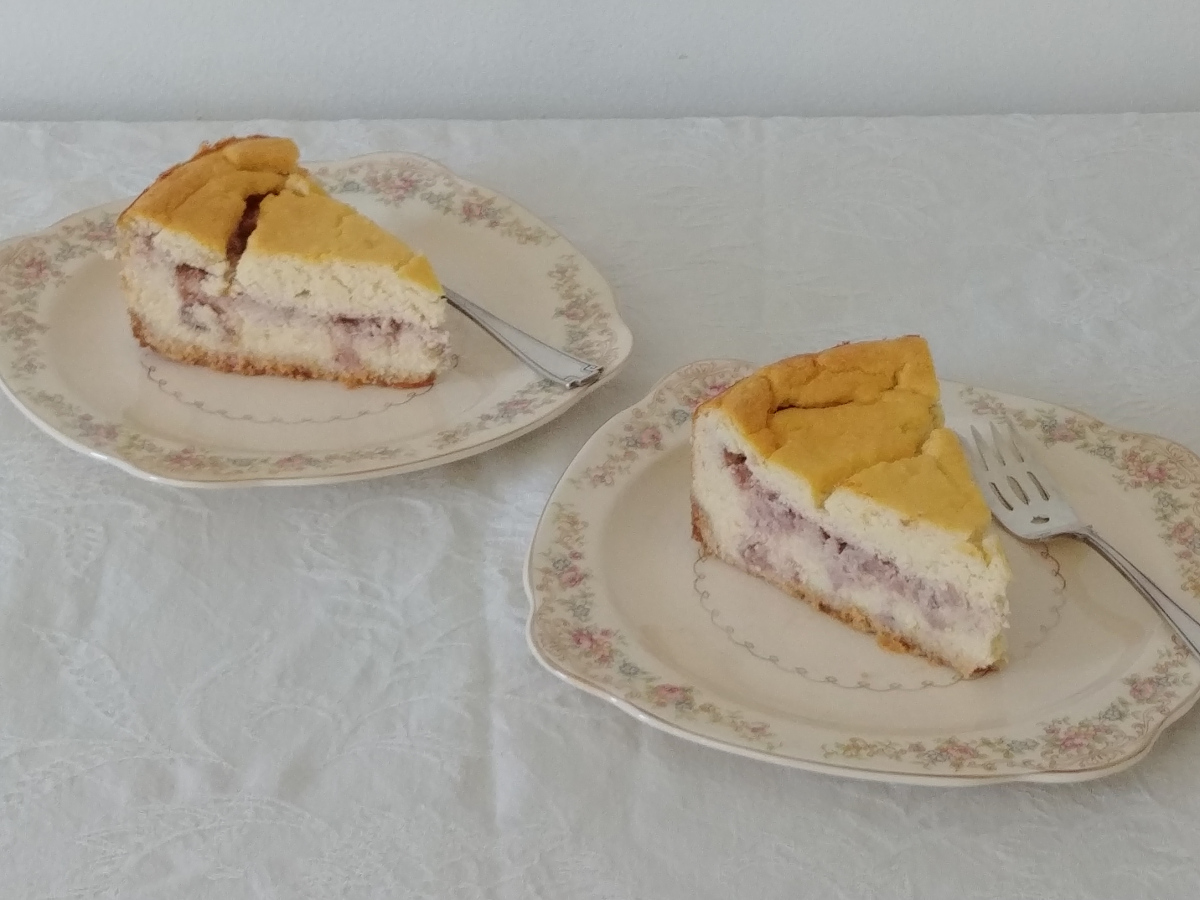
- This recipe will yield 8 servings of delicious Strawberry Lemon Ricotta Cheesecake; you can cut thinner slices but we don’t recommend it as they will likely fall apart when serving.
*Notes:
- Preparing the crust can be done a day ahead of preparing the cheesecake and we strongly recommend that you do so.


Leave a Reply